Easy Crown Molding installation instructions.
PLEASE READ ALL INTRUCTIONS BEFORE STARTING.
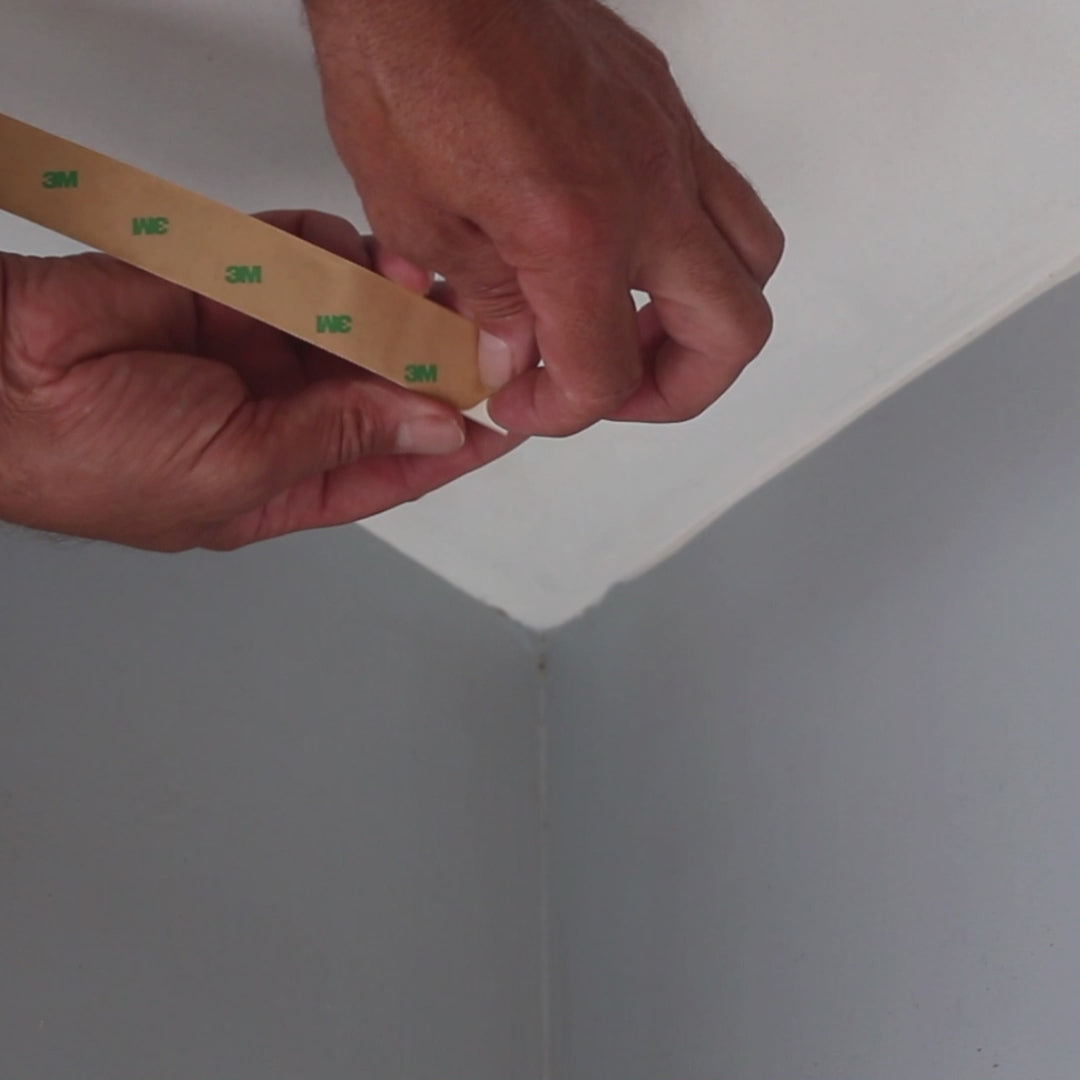
- Peel off the adhesive backing. Place the Lit Molding spacer strip to the ceiling keeping it tight to the wall. Fig. 1. Install the spacer all the way around the room.

-
Find a location to mount the transformer, plug in the led strips and make sure they are working correctly before applying the LED strips. Now adhere the led strips to the narrow face of the LED space block. Fig. 2.
 For larger rooms you will run one leg of LED's to the right and one leg to the left. Trying to keep the LED's equal lengths. Fig.3. This is important to have a consistent color all the way around the room. If you run different lengths you will see a variation in color from the short run to the long run. Fig.4. Be sure to test all features of the LED strip prior to installing the molding.

- Select the least visible corner in room to start. Place the red starter piece to the bottom section of the Lit Molding spacer, with the arrow facing into the corner. Red Starter Instructional Video. (There is only one angled cut required to make your inside corner). Add corner padding behind the starter piece this will budge the center out slightly helping to create a tight inside corner. Corner Padding instructional Video.
- Test fit the inside corner to make sure you have a tight joint. If any trimming is need common scissors work best. Test Fit instructional Video. Peel back an inch or two of the bottom adhesive, starting at the angled end. This will allow you easily remove the carrier strip in the future step. Bottom Tape instructional Video. Remove the top adhesive, be sure to hold the molding tight to the wall as you press it to the bottom section of the Lit Molding spacer . If you leave a space from the wall it will cause a gap in the corner. Press In Place instructional Video.
- Overlap the angle cut end over the square cut end of the molding. Peel back a inch or two of adhesive on the bottom of the molding. Remove the top adhesive pressing the molding tight to the Lit molding spacer.
- To finish the seams you will press the small amount of bottom adhesive to the underlying piece of molding. This will hold it in place so you can cut up through the two pieces simultaneously. Remove the cut off from both sides. Take a piece for the scrap and trim the top and bottom off it. Don't worry this is only to stiffen the seam and will not be visible, Apply the seam tape provided to the face of the cutoff and press it firmly behind the seam. Continue this step around the room, the square cut end of molding will work the same as the red starter piece for the remaining corners (The red starter piece is only used for the first corner).
- Continue these steps around the room till you get to the red starter piece. You can remove the starter piece and install the last length of molding in its place.
- You should have all the carrier strips from the moldings bottom edge hanging down as instructed in step 4. You can pull down on them to expose the bottom adhesive and press the molding tight to the wall. do take some caution not to distort the molding during this step. You are now ready to enjoy your Lit Molding. Happy decorating...